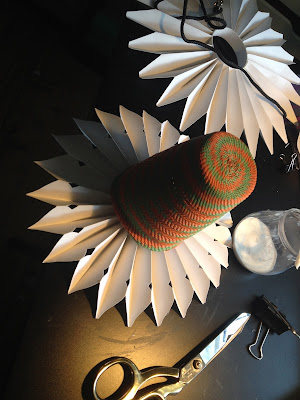
This year's Christmas card was inspired by work I'd done for Lipsy in the Autumn. No need to worry about inconsistency as snowflakes are all individual.
Just a footnote; even though they folded and fitted into a small envelope and opened out as usual, they were too fat for letter post and cost me a fortune to send out. Oh well, it was Christmas!
Instructions of how to make your own snowflake are included below.
 |
| Highly sprung snowflakes |
 |
| This is a standard 30cm ruler to give scale |
 | ||||||
| I added a small card with different greetings on for family friends and clients |
 |
| Instructions were on the reverse |
 |
| A few of the international cards only just fitted the postage on |
How to make a paper snowflake in 10 easy steps.
You'll need:
White paper measuring 60 cm x 6.5cm (I've used a 200+ gsm)
White pva glue
Ruler
Pencil
Sharp knife (and something to cut on - use a cutting mat or breadboard)
Paperclip
Method:
1.
Fold the paper into three.
Measure 30cm for each fold.

2.
Fold one third in two.
Then fold half of that in two.
Then the last quarter in two again.

3.
You can then fold it along the length equally using this method.
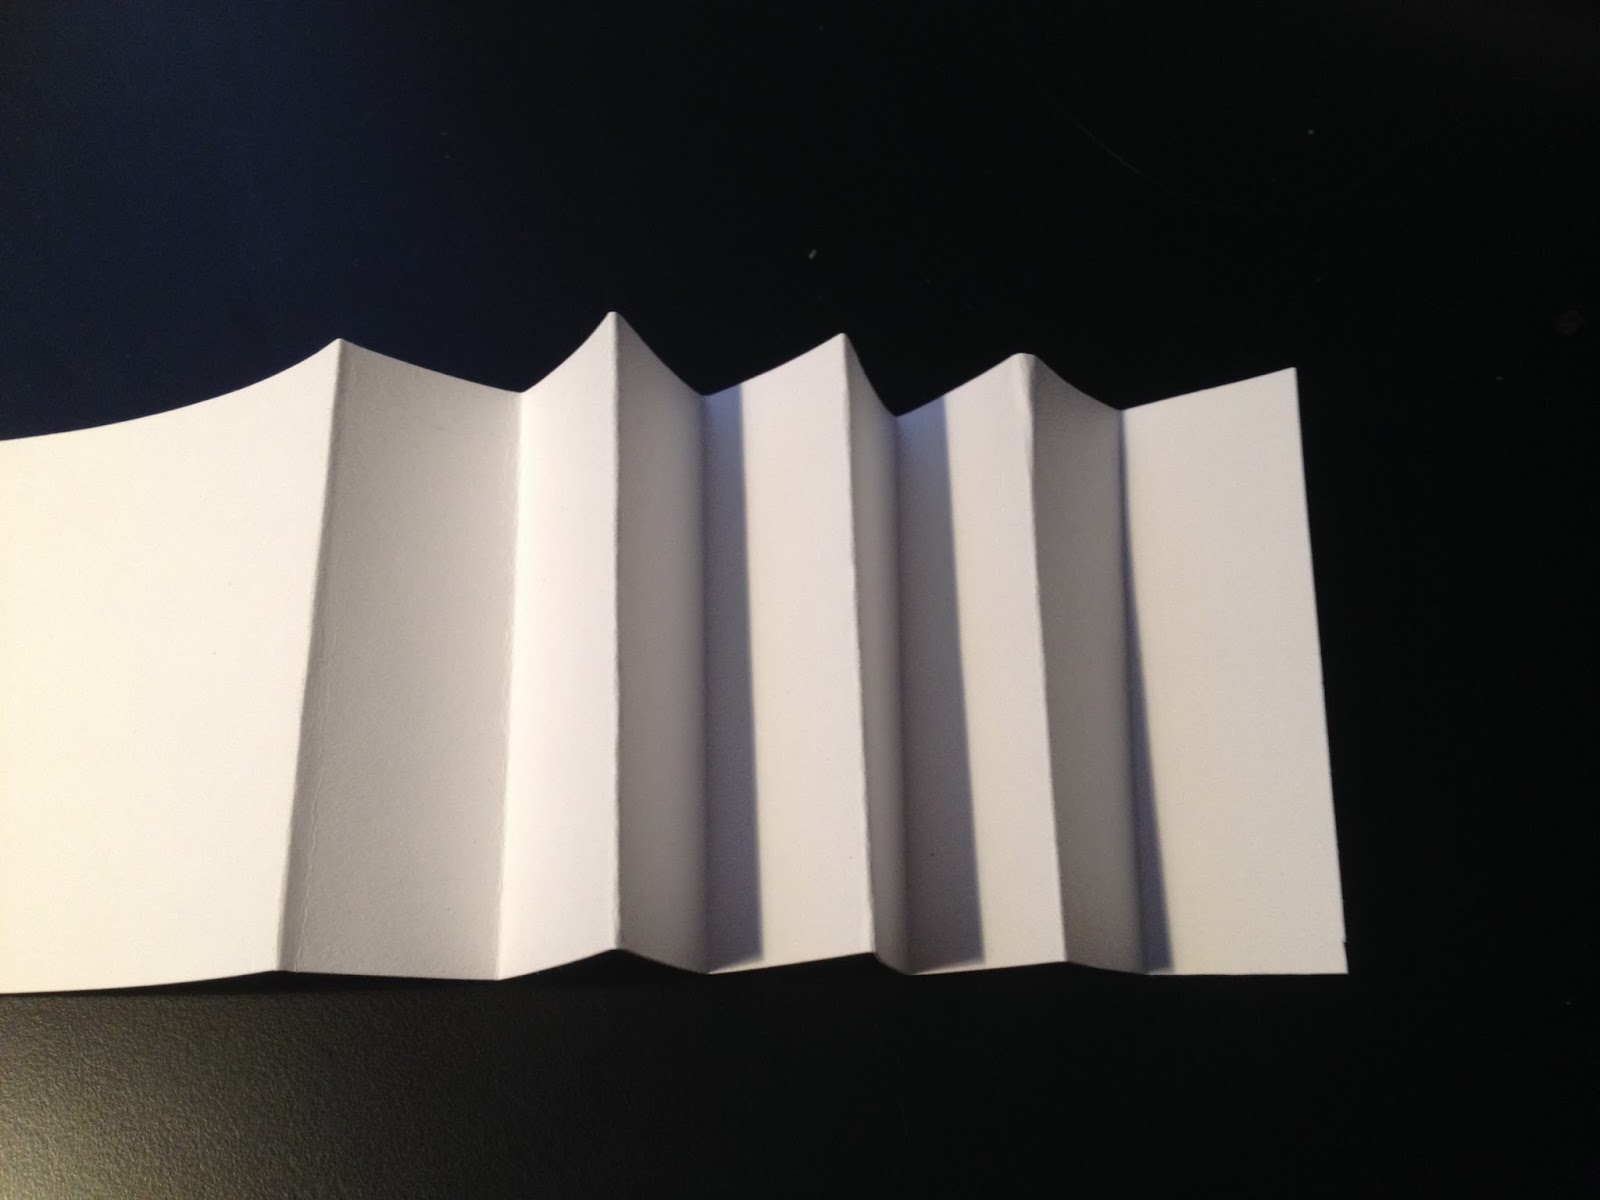
4.
Do this with each of the three sections until it looks like the one below.

5.
Gather it all together and secure it with a paperclip.
Apply the glue liberally to make quite a thick layer and leave to dry.

6.
When it is dry the glue will be clear in appearance.
Remove the paperclip.

7.
This is where you need a very sharp knife - I use a scalpel.
Hold the folded paper down firmly and be firm, but keep the blade away from your fingers!

8.
I cut away on both sides, but am careful to keep the connected folds big enough to hold the thing together.
So just shapes.
You can always cut more away if you wish, you can't replace it once it's gone.

9.
Open it out to check what it looks like from time to time.
You can experiment to create many shapes.

10.
You can secure the finished papercut with a paperclip, from which you can also hang the snowflake.

For blogs about other Christmas cards I've designed please click here.